Showing posts with label bread. Show all posts

Sunday, September 19, 2010

Sunday Dinner: Red Pepper Pasta and Garlic Bread Edition

Jason and I spent this weekend visiting my parents in Southeastern Pennsylvania. We had a really nice time buying apples and pumpkins at a local orchard, eating my mom's awesome bacon-wrapped scallops (with a lemon-dill sauce) for dinner, and playing spades. Since we didn’t get home until 4 or so , I decided to go with a tried and true favorite for dinner tonight--- pasta with creamy roasted red pepper sauce. But since I always try to do something a little bit special/out of the ordinary for Sunday Dinner I decided to shake things up with some homemade garlic bread.

WARNING: THIS RECIPE SHOULD NOT BE CONSUMED UNLESS YOU REALLY REALLY LIKE GARLIC.

(Consider yourself warned.)

Garlic bread, at least the way Ina taught me to make it, is so easy that it is hard to imagine why anyone would buy the frozen stuff. All you have to do is chop up some parsley and a lot of garlic, heat it in some olive oil and spread it between some ciabatta bread. Stick it in the oven for 10 minutes and you are done. Easy, garlicky goodness. (note: since it was just the two of us, I halved the recipe below—only using ½ loaf of bread, ¼ olive oil, etc. and it works just as well.)

Step 1: Cook olive oil, parsley and garlic over low heat.
Step 2: Spread mixture over bread
Step 3: Put halves back together and bake
 Step 4: Enjoy!

Homemade Garlic Bread
Adpated from Ina Garten

Ingredients:
6 cloves of garlic
¼ cup parsely
½ cup olive oil
Salt and pepper
1 loaf of ciabatta bread

1.Finely chop the garlic and parsley. Season with salt and pepper.
2.Heat olive oil in a small pan over low heat. Add garlic mixture and cook for about 3 minutes or until garlic is tender but not browned. Set aside
3.Slice ciabatta in half horizontally. Preheat oven to 350 degrees.
4.Spoon garlic mixture evenly over both halves of the bread. Place the top half on the bottom half. Wrap in foil. Bake on a cookie sheet for 5 minutes. Remove foil and cook for another 5 minutes or until crust is brown and crusty. Slice and serve (with breath mints if you have them).

Friday, August 27, 2010

Nothing Says Welcome Home Like Cinnamon Bread

I’ve been home alone the past few days while Jason’s been out in California for a work thing. (I’ve said it before and I’ll say it again—traveling for work is no fun! Poor Jason was out to California and back in about 48 hours.) I wish I could say I have spent my alone time wisely, but for the most part I have completely vegged out--catching up on my DVR’ed shows that Jason doesn’t watch  (Mad Men, Top Chef, and my new guilty pleasure Covert Affairs-a poor man’s Alias) and eating crappy food for dinner.  By last night, however, I had caught up on most of my TV shows and decided that I should do something productive. I decided to stretch my bread baking skills and prepare a welcome home surprise for Jason by trying out a recipe of cinnamon bread.

As diligent readers of this blog, you will know by now that Jason loves his bread. And with the weekend approaching I thought cinnamon bread would be a nice morning treat. I decided to give Pioneer Woman’s very recent recipe a try.  Although time consuming (with all the rising and everything I finally pulled the loaf out of the oven at around 10pm) it was remarkably easy to make.  The only caution I would give is that you should resist the temptation to roll the dough out too thin, otherwise you may have to roll it up to much and end up with uneven cinnamon swirls (heaven forbid!) like I did.

I cheated and had a slice this morning before work. It was good (although to be honest, a bit chewier than I had hoped. Maybe I overworked the dough? Or maybe it was because I used bread flour instead of all-purpose? Or maybe that’s just how it is—not upsettingly chewy but just a little unexpectedly so). But even better than the taste (if there could be such a thing) is the smell…

WARNING: This bread will make your house/apartment/whatever smell like Cinnabon. It’s intoxicating and makes it difficult to sleep (as I learned the hard way) so try not to make it before bed time.

This marked my first successful attempt at using the dough hook on my KitchenAid stand mixer to knead—I’ll never try to knead sticky dough by hand again.
 
I was a little disappointed in how the loaf looked before going into the oven...
But it came out great!
 
 Too bad the swirls were kind of lame-- next time it'll be perfect!

Cinnamon Bread
Adapted ever so slightly from Pioneer Woman Cooks

Ingredients:
1 cup milk
1 stick of butter
2 ½ teaspoons instant yeast
2 eggs
2/3 cup sugar
3 ½ cups flour (I used bread flour but all purpose will do)
2 TBL cinnamon
Cooking spray

1.Heat milk and 5 TBL of butter together until butter is melted. Cool until mixture is warm but not hot. Add yeast and stir.
2.In a bowl (preferably of a stand mixer) beat eggs and 1/3 cup of sugar. Add milk-butter-yeast mixtures and stir together. Add half of the flour and mix until well combined. Repeat with remaining flour.
3.If using a stand mixer, switch to the dough hook and knead on medium speed for about 10 minutes or until the dough is smooth, elastic, and pulls away from the sides of the bowl. If the dough is too sticky add an addition ¼ flour and knead for an additional 5 minutes (you want it to be slightly sticky but not overly so). If you are not using a mixer, knead by hand—be sure to flour your hands and work surface at regular intervals (did I mention this dough is sticky?!?)
4.Coat another large bowl with cooking spray and place kneaded dough in the bottom. Cover with plastic wrap and let rise for 2 hours until puffy and doubled in bulk. Let the remaining TBL of butter sit out at room temperature during the rise time.
5.Dump the dough on to a floured work surface. Roll out the dough to a rectangle. Try to make sure the width of the rectangle is the size of the loaf pan. Spread the room temperature butter over the dough. Mix together the remaining sugar and cinnamon and sprinkle the mixture evenly over the butter dough. Roll the dough into a log and pinch the seam shut. Place the log seam side down into a greased loaf pan—if it is a little too long for the pan, fold the ends under so that it will fit. Cover with plastic wrap and let rise for another 45 minutes to an hour.
6.Bake at 350 degrees for about 40 minutes. Remove from pan and let cool completely before slicing.

Tuesday, July 27, 2010

How Bad Could That Be?!

By now you know that my love for Ina Garten (aka The Barefoot Contessa) is rivaled only by my affection for Smitten Kitchen. So when I saw SK had taken Ina’s recipe for Scalloped Tomatoes with Croutons for a spin, I knew I had to give it a go myself.  Basically it’s a warm panzanella salad—bread, loads of fresh tomatoes, garlic, and basil. A very seasonal dish, indeed. I decided to add some spinach to the mix to add a little more green to otherwise carb-heavy dish.

While the recipe isn’t difficult to prepare it does take a little more time than some of my other weeknight dinners. Fortunately, the timing worked out well tonight since Jason had to work a little late. In the end, I really liked it….as a side dish. I think for it to be really satisfying entrĂ©e, I’d add some other veggie (zucchini or eggplant) or top with a poached egg (per SK’s suggestion). But I would definitely encourage you all give it a try. Bread, tomatoes, basil, and garlic…in the words of Ina “how bad could that be”?!


Scalloped Tomatoes with Croutons and Spinach
Adapted slightly from Smitten Kitchen

Ingredients:
3 TBL olive oil
2-3 cups of bread cubes, SK recommends a French boule; I used a rosemary olive oil loaf—you just want to look for a chewy, artisanal type of bread that will stand up to the juicy tomatoes.
2 lbs of tomatoes (I used roma), diced
3 cloves garlic, minced
2 TBL sugar
2 teaspoons Kosher salt (less if you use table salt)
1 teaspoon ground pepper
3/4 of bag of baby spinach
½ cup thinly sliced basil leaves
½ cup grated Parmesan cheese

1.Preheat the oven to 350. Heat olive oil in a large pan over medium heat. Add bread cubes and stir so they are all coated with oil. Cook, tossing frequently, until toasty on all sides, about 5 minutes.
2.Combine tomatoes, garlic, sugar, salt, pepper, and spinach in a large bowl. When bread is toasted add mixture to the pan and cook, stirring frequently, for 5 minutes more.  Remove from heat and stir in basil. Pour into a shallow (6-8 cup) baking dish and sprinkle top with Parmesan cheese. Bake 35-40 minutes until the top is browned and the tomatoes are bubbly. Serve hot or warm. I served mixed greens alongside with it.

Saturday, July 3, 2010

Breakfast of Champions

Homemade toast + iced coffee + grapefruit = perfect summer breakfast.


And it was truly a team effort. Jason cold-brewed the coffee overnight last night (using a recipe similar to the one on SmittenKitchen’s website), and we made toast from the bread I made a couple of days ago.

We have to talk about that bread.  I came across the recipe in the King Arthur Flour catalog several months ago but just got around to trying this week. So easy. So incredibly good.  The oats and honey give it a slightly sweet taste and the most intoxicating aroma. Just cutting into it, even a couple of days after it’s been baked, and you can smell the yummy goodness.  It’s so good that Jason insisted on having three slices of it this morning. (I cut a couple of them super thin so he wouldn’t overdose on carbs.)


My loaf turned out pretty good, I think, much better than the one I made last month—thanks to this little video I found on the internet.


If you are thinking about trying your hand at homemade bread, this is a great one. I will definitely be making it often! Next time I might add some cinnamon and raisins to it as well for an even better breakfast bread.


Oatmeal Toasting and Sandwich Bread
From King Arthur Flour

Ingredients:
3 cups unbleached bread flour
1 cup rolled oats (also called old-fashioned oats)
2 TBL butter or margarine, melted
1 ½ teaspoons salt
3 TBL honey
2 teaspoons instant yeast (or 1 packet active dry yeast—if you use the active dry yeast be sure to dissolve it in the warm milk before combining with the remaining ingredients)
1 ¼ cups lukewarm milk

1.In  a large mixing bowl, combine all of the ingredients, mixing to form a shaggy dough. Knead dough for about 10 minutes until it is smooth and no longer sticks to your counter or board. Place dough in a lightly greased bowl, cover and allow it to rest for 1 hour. It will become quite puffy but may not double in bulk.
2.Transfer dough to a lightly oiled surface and shape it into a log (see video above for tips and tricks). Place into a lightly greased 9x5 loaf pan, cover the pan with lightly greased plastic wrap, and allow to rise for 60-90 minutes until it’s crested 1”-2” above the rim of the pan.
3.Bake at 350 degrees for 35-50 minutes until golden brown and an instant-read thermometer registers 190 degrees.

Tuesday, June 1, 2010

Let Him Eat Bread

Have I told you how much Jason loves bread? Not as much as my cousin who was known for eating his weight in yeast rolls every Christmas Eve (and who ate 2/3 of The Liberty Tavern bread basket when he was in town last week), but a lot. Don’t get me wrong, I love bread too but I have come to realize that eating 3-4 dinner rolls with a meal is probably not the best thing to do on a regular basis. Jason has no such will power when it comes to bread (especially bread slathered with butter), so I have significantly cut down on the amount of bread I serve at dinnertime.

Despite this, I got it in my head this week that I needed to make some homemade bread. Maybe it’s because this is Jason’s birthday week and I am feeling more eager to please than usual (SPOILER ALERT—lots of yummy birthday dinner recipes coming your way the rest of the week!). Or maybe it’s because I am in the middle of Animal, Vegetable, Miracle and have become somewhat enamored with the author’s self-sufficient lifestyle and am trying to emulate it in some small way. Whatever the reason, I made bread.

Now this is not my first bread—that honor goes to the it’s-so-good-you-will-never-believe-it’s-this-easy-to-make No-Knead Harvest Bread from King Arthur Flour. But that is a fall/winter bread to me. So I decided to give Serious Eats’ recipe for The Simplest White Bread Ever a try.

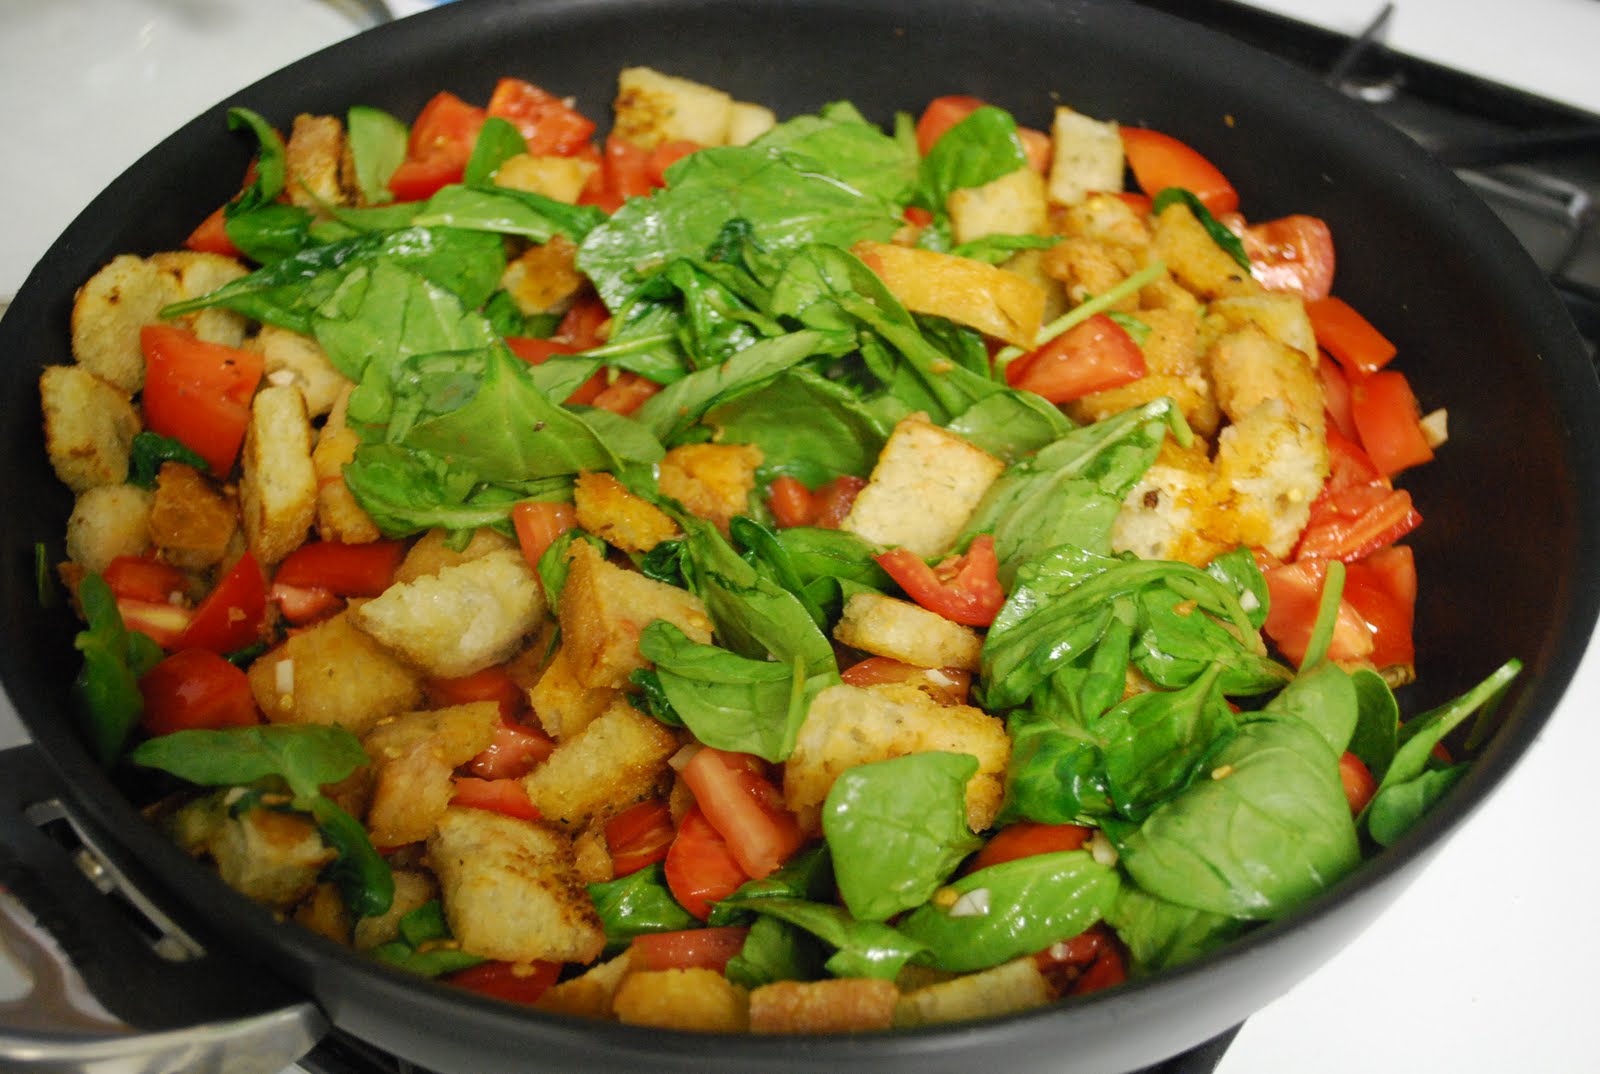
It definitely lived up to its name! It requires minimal kneading and no special equipment (unlike the no-knead method which requires a dutch oven). While it did not look as nice as the pictures that went a long with the original recipe, it was not bad for a first try.  And the taste---according to Jason it was just plain good (which is definitely a compliment). I had one piece with our big dinner salad tonight. Jason, of course, had two.  I guess it could be worse!

Yeast proofed and ready to go
 After a quick knead
 After a night's rest in the fridge
Slashed and ready to go into the oven

Simplest White Bread Ever
From Serious Eats

Ingredients:
1 tablespoon white sugar
2 1/2 teaspoons (1 package) yeast
1 cup lukewarm water
2 1/2 cups (11 1/4 oz) all purpose flour
1 teaspoon salt
2 tablespoons olive oil

1. Add the sugar and yeast to the water in your measuring cup and stir to combine. If you're using anything except an instant yeast, let it sit for 5 to 10 minutes, or until the mixture is lively and bubbly. If it's instant yeast, you can continue without proofing, or let it proof to ease your mind that the yeast is alive—your choice.
2. Put the flour and salt into a medium bowl, and stir to distribute salt.
3. Add the water/yeast mixture to the bowl with the flour, and stir to combine all the ingredients.
4. Sprinkle some flour on your countertop and dump the dough mixture onto the counter. Knead for a minute or two, adding flour as necessary to keep it from sticking. You don't need to knead until the dough is stretchy and elastic - just knead until it's a nice cohesive mixture and not a lumpy, sticky, blobby mess. Form it into a ball.
5. Drizzle the olive oil into a zip-top bag and plop the dough into the bag. Make sure the dough is completely coated with olive oil, zip the top, and stash it in the refrigerator overnight.
6. The next day, take the bag out of the fridge and massage it a bit, still in the bag, to mash out all the bubbles in the dough. You may need to open the bag to let the air out, but reseal it after.
7. Leave the bag on the countertop until the dough has come to room temperature, about an hour. It will rise and expand a bit during that time.
8. Preheat the oven to 350°F. Sprinkle some cornmeal on the bottom of a loaf pan.
9. Sprinkle some flour on your countertop, and dump the dough onto the counter. You don't need to squeeze every bit of olive oil out of the bag, but don't try to hold it back, either.
10. Knead and fold it a bit to incorporate the olive oil into the dough, then form the dough into a log that will fit into your loaf pan.
11. Put the loaf into the pan, cover the pan with plastic wrap, and let it rise until it has at least doubled in size. I used a 9 x 5 inch loaf pan and let it rise until it was about even with the pan (1 hour or so).
12. Remove the plastic wrap, slash the top with a knife, and bake at 350 degrees for 35 to 40 minutes, until the bread is golden brown and the loaf sounds hollow when tapped.
13. Let it cool completely on a rack before slicing.